Test & Measurement
Megger Insulation Tester vs Multimeter: What I Learned From 8 Years of Test Equipment Mistakes
-
I'm the One Who Made These Mistakes
-
Dimension 1: Test Voltage — A Megger Insulation Tester vs a Multimeter
-
Dimension 2: How to Use a Megger Insulation Tester — Workflow vs a Multimeter
-
Dimension 3: Multimeter Repair and the Price Nobody Quotes
-
Dimension 4: How to Test a Rice Lake Load Cell
-
The Same Logic Applies to a Distance Sensor
-
Which One Should You Choose?
I'm the One Who Made These Mistakes
I've handled test and measurement orders for 8 years, and I've personally made (and documented) 14 significant mistakes that added up to roughly $6,200 in wasted budget. In my first year, 2017, I trusted a multimeter's resistance range to check insulation on a motor. The multimeter said “fine.” The motor tripped a ground fault the first time it started. That mistake is the reason I want to walk through the comparison I wish someone had shown me.
The question here isn't “Which brand is better?” It's “Which tool does the job you're actually asking for?” So I'm going to compare a dedicated Megger insulation tester against a multimeter on four dimensions: test voltage, workflow, repair cost, and troubleshooting coverage. Then I'll show why the same logic applies to a Rice Lake load cell and a distance sensor.
Dimension 1: Test Voltage — A Megger Insulation Tester vs a Multimeter
This is the dimension I got wrong first. A multimeter measures resistance using a low voltage from its internal battery. That's fine for reading a resistor, but it doesn't stress insulation. Insulation breakdown often only appears when the insulation has to hold back a much higher voltage.
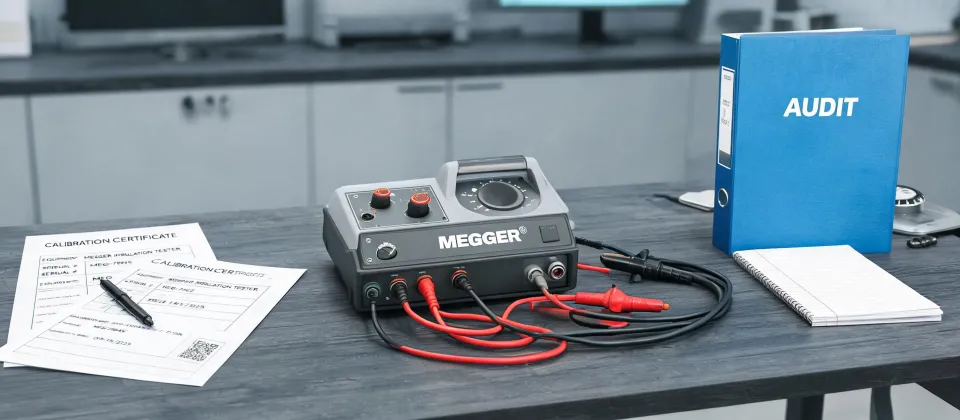
Take the Megger insulation tester MIT320-EN as an example. According to Megger's product documentation (accessed January 2025), the MIT320-EN offers three insulation test voltages: 250 V, 500 V, and 1000 V. That high voltage is the whole point. It reveals leakage paths and weak spots that a 9 V ohms range simply can't see.
Conclusion: for insulation resistance, a multimeter is not a substitute. It isn't a “close enough” version of a Megger. It's a different type of measurement.
Dimension 2: How to Use a Megger Insulation Tester — Workflow vs a Multimeter
Here's how to use a Megger insulation tester the way I should have done in 2017. I'll use the MIT320-EN as the example, but the workflow applies to most insulation testers:
- Lock out and prove the circuit dead. This is not optional.
- Discharge the equipment to earth, especially if it's a cable or motor that may hold a charge.
- Connect the test leads. For the MIT320-EN, follow the terminal markings.
- Select the test voltage. Use the equipment rating, not what you hope to see.
- Press and hold the test button for at least 60 seconds if you want a stable reading or need a polarization index.
- Record the reading and the exact test duration.
- Discharge the equipment again before disconnecting the leads.
A multimeter workflow is faster: set to ohms, touch the points, read. That speed is useful for continuity, but it doesn't force you to think about safety or leakage. The slower insulation tester workflow isn't a design flaw. It's the safety feature.
Dimension 3: Multimeter Repair and the Price Nobody Quotes
Let's talk repair. Sometimes a multimeter fails, and repairing it is the right choice. But I've learned to ask “what's NOT included” before I ask “what's the price.”
In 2021, I sent a bench meter for repair because the current range was intermittent. The shop quoted $45. The final invoice was $95 because it included calibration verification, a battery, and return shipping. All of that was legitimate work. The problem was I approved the job without knowing it wasn't part of the $45. I approved the invoice in the end because the meter came back with a calibration certificate. But I didn't relax until the certificate showed it actually passed.
If that meter is going to be used for compliance or final sign-off, ask whether the calibration lab is ISO/IEC 17025 accredited. It sounds like alphabet soup, but it's the difference between a paperweight and a defensible reading.
The vendor who lists all fees upfront—even if the total looks higher—usually costs less in the end.
If you use a meter for anything important, a repair without verification is a hidden cost. You don't know if the reading is right. That's the same trap as using a low-voltage multimeter to test insulation: the number looks fine, but the information is incomplete.
Dimension 4: How to Test a Rice Lake Load Cell
Load cell testing is where the multimeter earns its place. The trick is knowing its limits. Here's how to test a Rice Lake load cell without repeating my September 2022 mistake:
- Disconnect the load cell from the indicator so you aren't measuring the indicator's influence.
- Measure bridge resistance between the excitation wires and between the signal wires. Compare those readings to the datasheet. Many load cells are around 350 Ω (not all of them, so check the label).
- Measure each conductor against the load cell body. You're looking for high resistance or an open circuit; a short to the case usually means damage.
- Reconnect the cell and check zero balance with no load. It should be near its documented zero, typically within the datasheet tolerance.
- Apply a known test weight and verify the output in mV/V. For example, a 2 mV/V load cell with 10 V excitation should produce roughly 20 mV at rated load.
This is exactly where I got hurt. In September 2022, I signed off on a load cell installation after resistance and zero-balance checks. It looked perfect on paper. But we skipped the live test load to save time. The scale went into service, and the customer's own test load showed it was off by 40 lb under a 3,200 lb load. That cost $890 in redo plus a one-week delay.
We didn't have a formal field-test checklist for load cells. That's why it happened. Now we do.
The Same Logic Applies to a Distance Sensor
One more example, because this catches people by surprise. If I'm checking a 4-20 mA distance sensor, a multimeter in mA mode tells me whether the loop is alive. If the sensor outputs 12 mA, I know it's awake. I don't know if that 12 mA corresponds to the distance the sensor thinks it's seeing.
To actually test a distance sensor, I need a known target at a known distance, a stable power supply, and a way to confirm the output scaling. The multimeter is still my first tool. It just isn't my last tool.
The unexpected conclusion: after all the praise I gave to a proper insulation tester, I still prefer a multimeter as the first check for load cells and distance sensors. The key is knowing when to stop trusting it.
Which One Should You Choose?
If you do insulation resistance testing more than once or twice a year, get a dedicated insulation tester. The Megger insulation tester MIT320-EN is one good example because it gives you the voltage choices and the workflow that exposes weak insulation.
If your work is continuity, voltage, load cell bridge checks, or mA loops, a repaired or new multimeter is usually enough—as long as you can verify its calibration.
If a load cell failure would stop your process, don't rely on resistance alone. Use the multimeter to screen, then finish with a test-weight check.
If a distance sensor reading matters, verify the output against a real target. A plausible reading isn't the same as a correct reading.
And when anyone hands you a quote, ask what's not included before you ask the price. That one question has saved me more money than any discount.

Marcus Feld
Marcus Feld is an electrical test and measurement analyst specializing in multimeters, oscilloscopes, clamp meters, insulation testers, spectrum analyzers, and data loggers. He applies IEC 61010-2-030 and IEC 61010-031 concepts while examining measurement category, bandwidth, true-RMS response, input loading, and stated uncertainty. His work helps maintenance engineers and test teams choose safe instruments with performance suited to the signals and environments they actually measure.