Test & Measurement
Megger MIT1025 vs Socket Tester vs FLIR C2: What to Reach For When Every Hour Counts
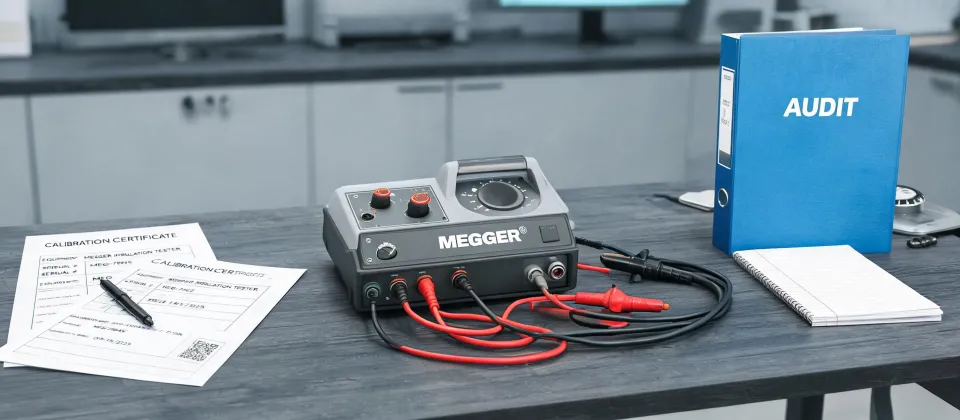
I'm an emergency equipment specialist at an instrument supplier. I've handled 200+ rush orders in seven years, including same-day turnarounds for electrical contractors, plant engineers, and lab managers. Based on our internal data from 200+ rush jobs, the tool that gets left behind most often is the Megger MIT1025 insulation resistance tester. That's predictable, and it's expensive.
When I'm triaging a rush order, I don't ask 'which product is the best?' I ask 'which tool reduces the most uncertainty before the deadline?' That changes the answer. So this article isn't a product list. It's a comparison of three pairs that show up over and over in urgent work:
- Megger MIT1025 insulation resistance tester vs. a Megger socket tester
- FLIR C2 thermal camera vs. visual inspection
- Tabletop centrifuge vs. sending samples out to a lab
In March 2024, a contractor called at 5:10 p.m. with an inspection scheduled for the next morning. Normal turnaround for an insulation tester was three days. We found a Megger MIT1025 at a satellite depot, paid $85 in courier fees, and the contractor passed the inspection at 10:30 a.m. The alternative was a $1,500 reschedule penalty. That's the context for everything below.
Dimension 1: Megger MIT1025 vs. Megger socket tester
Let me clear up a common misunderstanding: the Megger MIT1025 and the Megger socket tester are not competitors. They answer different questions. But when you're in a hurry, you might only have budget or bag space for one.
From the outside, a socket tester looks like the faster answer. Plug it in, read the LEDs, move on. The reality is that it only checks the outlet in front of you. It doesn't test the insulation of the cable running to that outlet. It can't see a nicked conductor or a deteriorated splice.
The Megger MIT1025 insulation resistance tester applies a DC test voltage and measures how well the insulation holds. The version we carry is rated to 5 kV, which is why it can expose problems that a socket tester simply cannot.
Here's the part that surprises people: the cheap socket tester is a better daily tool for a typical socket fault. The MIT1025 is the tool you need before the inspection, before the deadline, and before you energize a circuit. It's not a luxury upgrade. It's a different layer of verification.
Per IEC 60364-6, insulation resistance testing is part of the verification process for low-voltage installations. A socket tester alone does not satisfy that requirement.
(As of January 2025, that standard is still the reference I use for low-voltage checks. Verify the current edition before you put it in a report.)
Honestly, I'm not sure why more techs don't carry both. My best guess is that it's a cost and space issue. The socket tester is cheap and tiny. The MIT1025 is neither. But for a rush job, the MIT1025 is the one that turns 'should be fine' into 'here's the number.'
Dimension 2: FLIR C2 thermal camera vs. visual inspection
The same pattern shows up when a panel has a loose connection. Visual inspection is free, fast, and always available. But it can't see a hot spot before it becomes a failure.
The FLIR C2 thermal camera can. It's the pocket-sized one that lives in a laptop bag. It won't replace a full thermographic survey, but it will show you temperature differences across a breaker panel in seconds.
The counterintuitive part: the C2 rarely 'finds' a fault on its own. It confirms one you already suspect. More importantly, it gives you proof. That proof is what gets a repair approved quickly. It turns 'trust me' into 'see for yourself.'
How to use a FLIR thermal camera (under time pressure)
You don't need to be a certified thermographer to make the FLIR C2 useful. You do need to follow these five steps:
- Start with a loaded circuit. A cold circuit won't show a bad connection.
- Set emissivity to about 0.95 for painted panels and cable insulation.
- Compare similar components side by side, not absolute temperatures.
- Avoid shiny metal. Reflective surfaces give misleading readings. Put a piece of tape on the component if you need a reference.
- Capture the image before you touch anything. The image is your before-and-after record.
That's it. Do it in that order and a FLIR C2 can make you look like a hero in under two minutes. Skip the setup and it'll make you look like someone who owns an expensive camera with no clue how to use it.
Dimension 3: Tabletop centrifuge vs. sending samples out
This one feels out of place in an electrical test article. It isn't. A lab manager under deadline faces the same trade-off: process in-house or wait for an outside lab?
A tabletop centrifuge takes a sample mixture and separates it in minutes. That's the difference between finishing a validation today and waiting until after the weekend. When a compliance date is involved, that's not a small thing.
But the tabletop centrifuge is not for everyone. If you're running a handful of samples per year, outsourcing is cheaper and easier. If you're doing urgent monthly batches, the centrifuge pays for itself.
I've rented a tabletop centrifuge for a one-day startup validation. The rental was small, the customer was new, and the process needed proof. That's why I push back on the idea that small orders deserve small service. When I was starting out, the vendors who treated my $200 orders seriously are the ones I still use for $20,000 orders. Small doesn't mean unimportant—it means potential.
What I'd pick, depending on the emergency
I can only speak to commercial and light-industrial work. If you're doing high-voltage, hazardous-area, or medical testing, this advice shifts. Those jobs have their own standards, and I'd be guessing.
- Pre-power sign-off or commissioning? Reach for the Megger MIT1025 insulation resistance tester first. The socket tester is a backup for daily fault-finding, not a replacement for an insulation test.
- Troubleshooting an energized panel? Use a FLIR C2 thermal camera. Learn the basic steps above and keep the image. It's the difference between a two-hour discussion and a ten-minute fix.
- Lab samples waiting and no time to lose? If you need urgent sample prep more than once a month, get a tabletop centrifuge. If not, find a lab that respects a small batch instead of treating it like a favor.
Don't let anyone tell you to buy everything at once. That's not how reality works. Start with what reduces the most uncertainty for the jobs you already have. For a contractor, that might mean renting an MIT1025 for the day of the inspection. For a plant tech, it might mean a C2 camera in the toolbox. For a small lab, it might mean a used tabletop centrifuge that handles the occasional rush batch.
Our rush rentals range from a $250 one-day rental to a $15,000 deployment. The same rule applies to both: check it before it ships. We also changed our rental policy after three failed rush deliveries from discount couriers. Now every expedited instrument gets a second human check before it leaves the dock. That policy has cost us time. It has also saved us more than once.
The pattern is the same in every pair: faster isn't always better, and better isn't always faster. The right tool is the one that gives you evidence you can stand behind when the deadline is still running.

Marcus Feld
Marcus Feld is an electrical test and measurement analyst specializing in multimeters, oscilloscopes, clamp meters, insulation testers, spectrum analyzers, and data loggers. He applies IEC 61010-2-030 and IEC 61010-031 concepts while examining measurement category, bandwidth, true-RMS response, input loading, and stated uncertainty. His work helps maintenance engineers and test teams choose safe instruments with performance suited to the signals and environments they actually measure.